Integrating Qexo Talks
Starting from version 2.1.0, Qexo supports Qexo Talks (a social status update feature). This tutorial will guide you through integrating Qexo Talks into your blog.
Adding Qexo Talks
- In the Qexo sidebar, find Qexo Talks and click to enter.
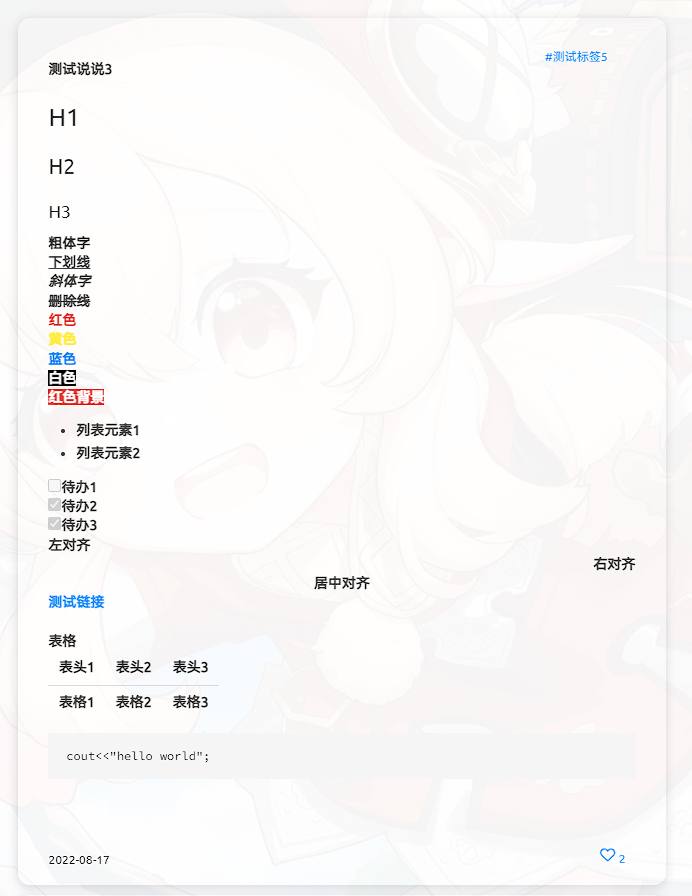
- Click the Add Qexo Talks button in the upper right corner and input your information.
- Click Publish or use the shortcut key to save your Qexo Talks data.
Integrating with Your Blog
Open the command line in your root directory and create a new page:
shellhexo new page talksOpen source/talks/index.md and modify the page configuration.
Add the following code to the page, replacing ${SITE} with your Qexo link (e.g.,
https://admin.mysite.com):html<div id="qexot"></div> <script src="https://cdn.jsdelivr.net/npm/qexo-static@1.6.0/hexo/talks.js"></script> <link rel="stylesheet" href="https://cdn.jsdelivr.net/npm/qexo-static@1.6.0/hexo/talks.css"> <script>showQexoTalks("qexot", "${SITE}", 5)</script>Note: The third parameter specifies the number of Qexo Talks per page; adjust it according to your needs.
Push your blog to your GitHub repository.
(Optional) Customization
The default style is quite basic. You can enhance it by following these steps:
- Download the CSS file.
- Edit the styles and include the updated CSS in your blog.
- If you need code highlighting, include the necessary CSS and JavaScript.
Alternatively, you can use existing beautification solutions:
- (From DaoDao) Link
- (Stellar theme) GitHub Repository
If you’d like your customization to be featured here, you can start a Discussion to let me know.